I started my 3D Printing journey all the way back in 2017 with an Anet A8, the cheapest entry level 3D printer on the market at the time.
Cheap for a reason
The Anet A8 was one of the first popular entry level FDM 3D printers, costing me only €171.23 on AliExpress.
The catch however is that it being so cheap meant it was a project in itself. It’s frame was built out of laser cut acrylic, and was held together with M3 screws. This was a very wonky construction and thus resulted in poor dimensional accuracy when printing. The firmware didn’t have any thermal runaway protection and the mosfets on the motherboard were prone to overheating and starting fires.
While it wasn’t a good printer, it was a 3D printer, and that meant it could print upgrade parts for itself. I began reinforcing the frame as much as I could and installed custom firmware so it wouldn’t go up in flames.
The Need for Speed
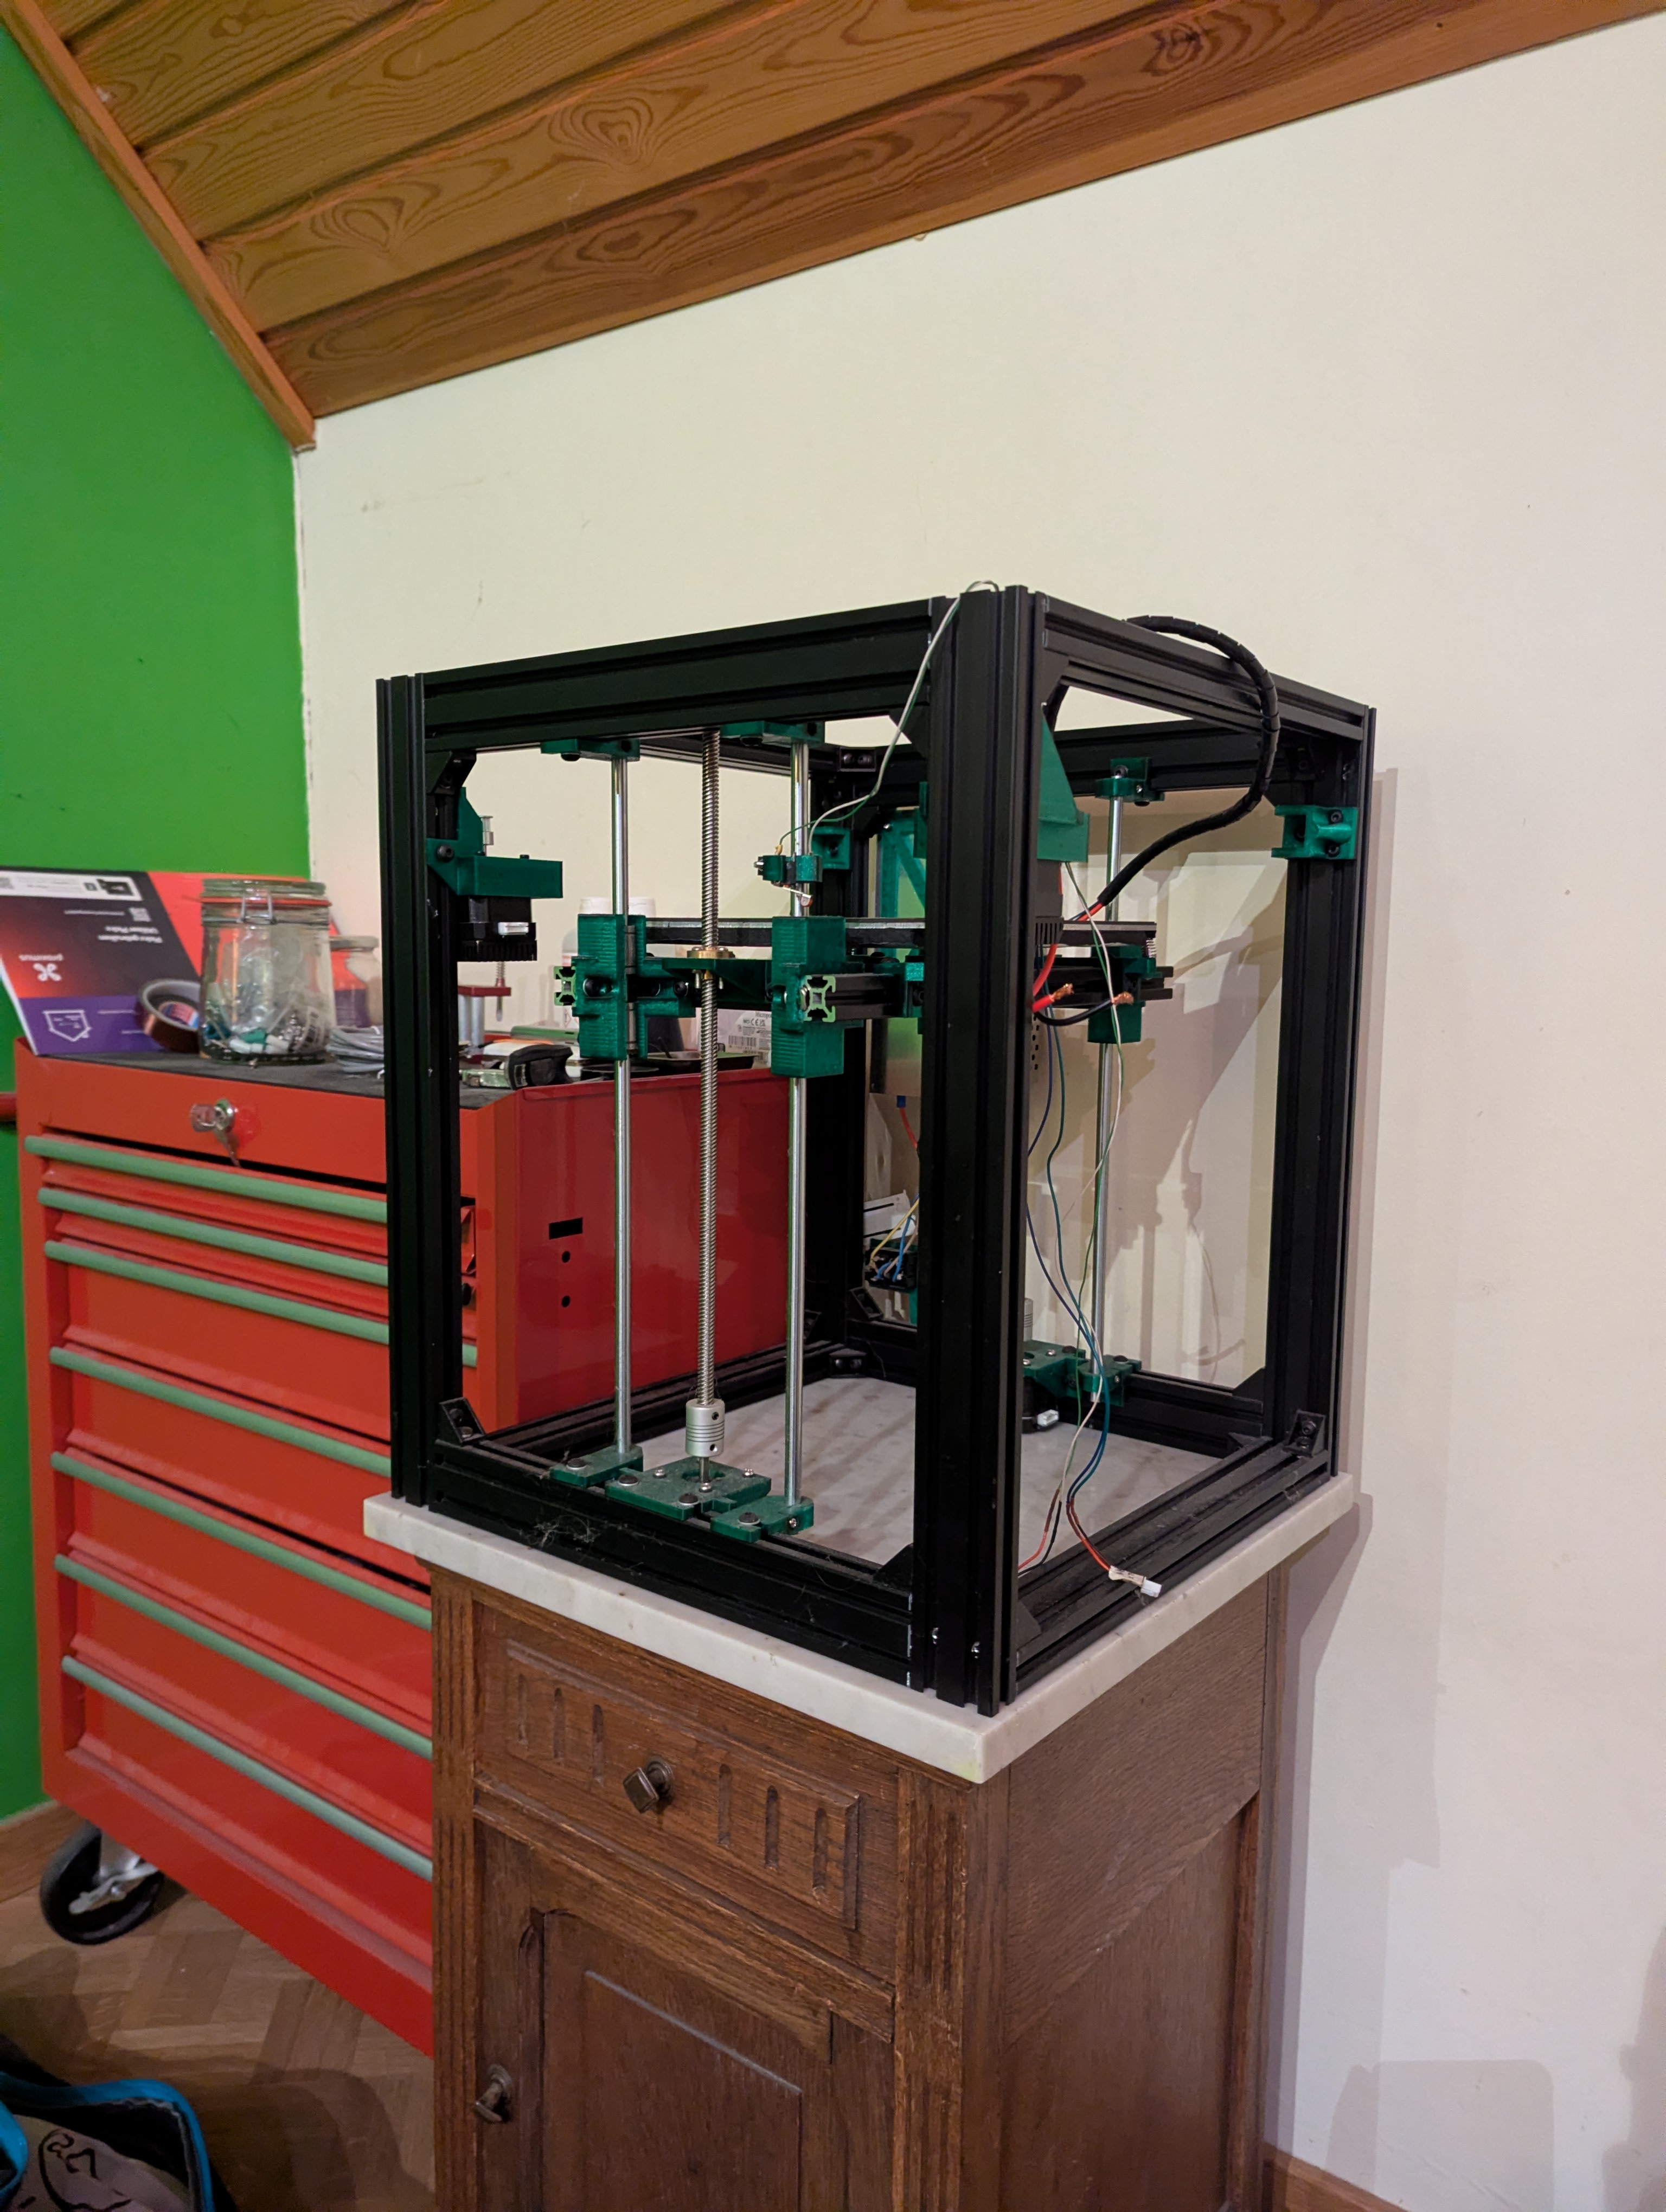
I learned all about the motion system, kinematics, hardware and software powering these machines, and started wanting to print faster and faster. Back then, CoreXY kinematics and bowden extruders were the new recipe for speed. Since I could re-use most of the motion system components like the motherboard, power supply and motors, all I really needed to change was making a different frame to accomodate the CoreXY system. For this I based myself on the CoreAnet8 project, a conversion kit to convert itself based on the Hypercube Evolution.
I got the CoreAnet8 up and running, but wanted to keep exploring the limits of how hard I could push it in terms of speed. I proceeded to optimize the design for stiffness, opting to swap the 8mm linear rods from the Anet A8 for MGN12C hardened steel linear rails. While upgrading the motion system I built a high flow hotend setup around an E3D Volcano and CHT nozzles.
The motherboard was swapped out for an MKS Robin Nano and some TMC2209 silent stepper drivers, and a Raspberry Pi Zero W was added to modernize the printer using Klipper firmware.
Current state of the project
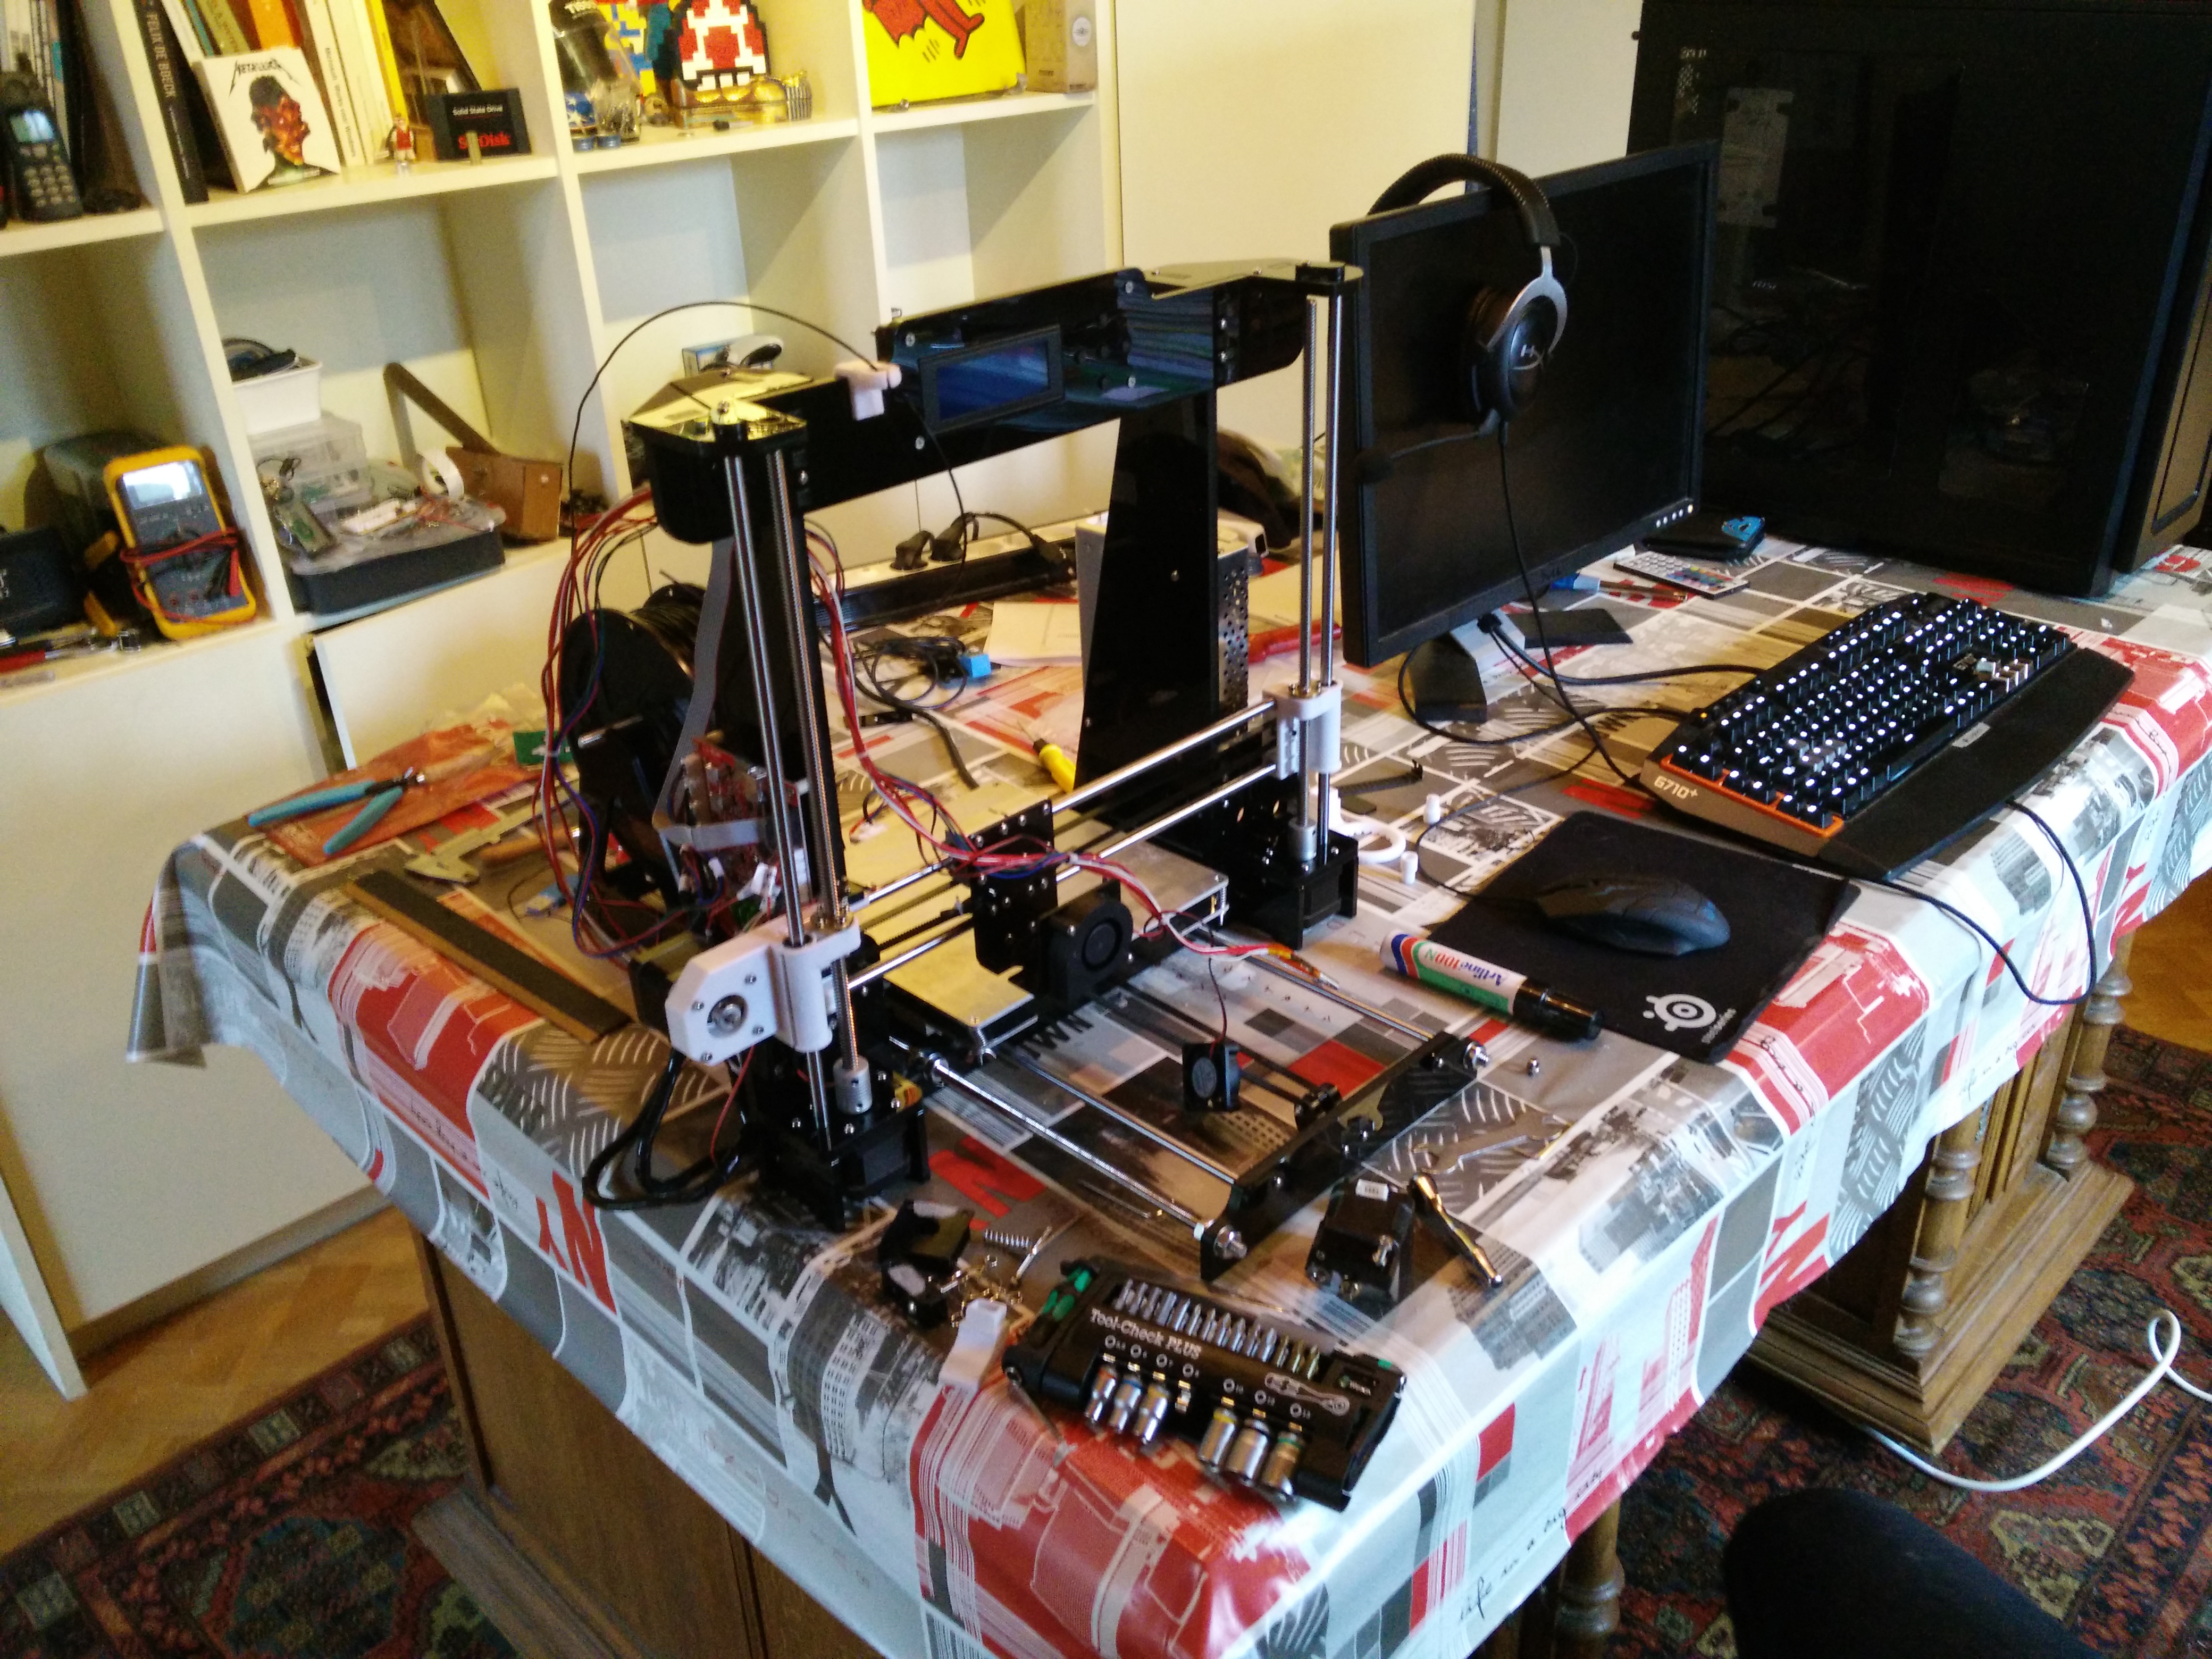
The printer successfully produced all of it’s printed parts and they are ready to get installed. It was also at this point I realized my printer being a project itself was hindering my workflow in other projects. I then decided to invest in another printer, a Kingroon KP3S Pro V2.
With that, my focus shifted towards other projects and I started viewing 3D printers more and more as tools rather than engineering projects themselves. This leaves the project currently unfinished, waiting for revival.